Last time, we set up a job checkstyle check locally. But for this test to be truly meaningful and to benefit the team, it is better to integrate this action into the CI / CD of your development process.
In this article, we will look at setting up checkstyle checking using the example of the popular jenkins automation server.
I assume that you already have configured jenkins and you already know how to run the checkstyle check locally.
Let’s create a base project with a project build in maven. Add the script from this article to the jenkins pipeline.
Plugin installation
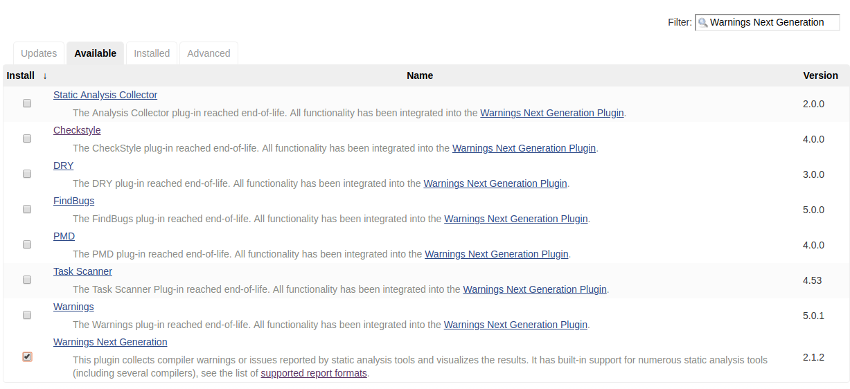
In order to display the check results, we need to install the Warnings Next Generation Plugin
Manage Jenkins> Plugin Manager> Available Enter name of plugin – Warnings Next Generation and install it

Configure jenkins to save checkstyle results
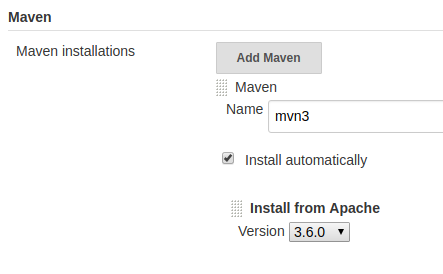
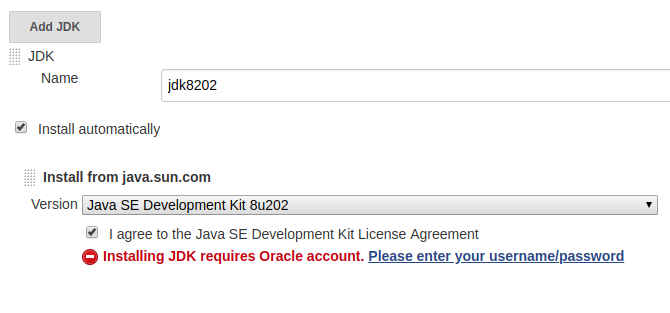
Let’s configure JDK and Maven to build the project. Go to Manage Jenkins> Global Tool Configuration
In the Maven section, click Add Maven.

Remember text you entered in the name field. Repeat same actions for jdk section.

Now time to write pipeline script
|
1 2 3 4 5 6 7 8 9 10 11 12 13 14 15 16 17 18 19 20 21 22 23 24 25 26 27 28 29 |
pipeline { agent any tools { maven 'mvn3' jdk 'jdk8202' } stages { stage('Checkout') { steps { git credentialsId: 'github-ssh', url: 'git@github.com:username/checkstyle.git' } } stage('Build') { parallel { stage('Maven build') { steps { sh "mvn clean install" } } stage('Checkstyle') { steps { sh "mvn checkstyle:check" recordIssues(tools: [checkStyle(reportEncoding: 'UTF-8')]) } } } } } } |
parallel keyword allow step to be executed in parallel
|
1 |
recordIssues(tools: [checkStyle(reportEncoding: 'UTF-8')]) |
record our chesckstyle issues to report.
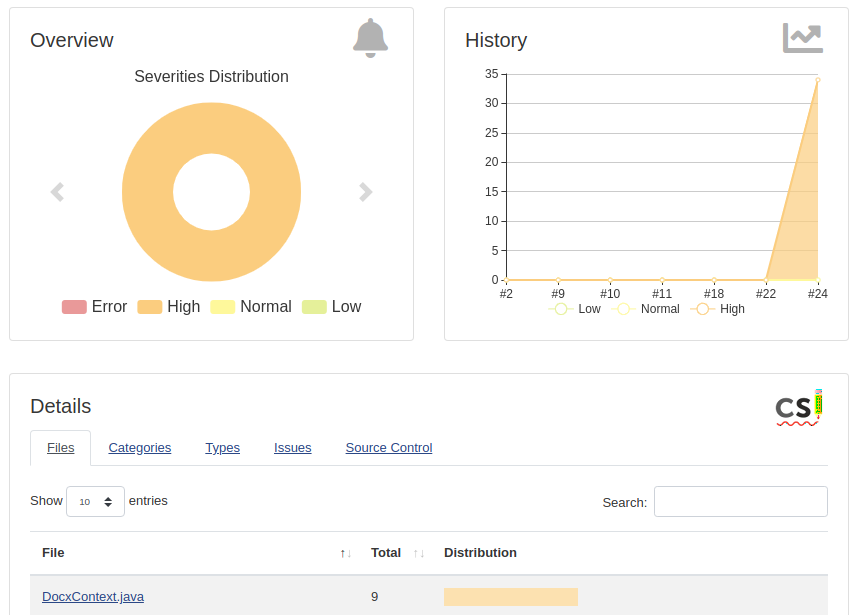
Now, run a job and see result. Click on Checkstyle Warning link in job details, We see detailed information about checkstyle checks, their level as well as the history of the last several builds.
